
 3 and 4

 5 and 6

 7 and 8

 9 and 10
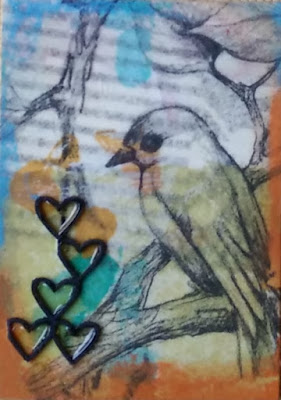
 Thank you for coming to see my cards!

 3 and 4

 5 and 6

 7 and 8

 9 and 10

 Thank you for coming to see my cards!
 I cut smaller pieces from the chipboards, which would have been wiser to do before the painting, but I didn't. So I had to add paint onto the edges where I had cut. I then sorted suitable pieces for each card and used Glossy Accents glue to attach them.
 I am also joining the Dimensions themed challenge at Mixed Media Monthly.
ATCs are a bit of a challenge in regard to 3D embellishments, if you swap them internationally like me and have to think of packing them for mailing. So I was super glad to realize these chipboard decorations from Wycinanka are thin enough for ATCs!
 For more information on beeswax collage making, check this old post of mine and all the others under the label beeswax!
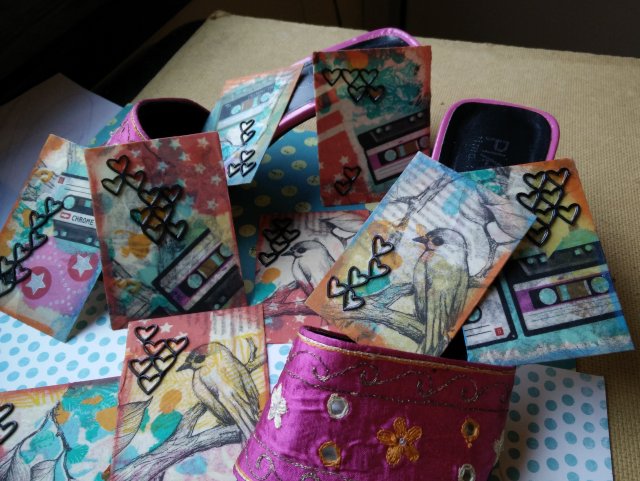
 Thank you for looking and happy weekend, everyone!

 The patchwork collagey look of the mood board, with all its small bits, gave me the idea to make a Pocket Life spread for this challenge. I was also inspired by the marine theme, the stars, the weathered wood and the pop of orange/red, which also appears in my photos.
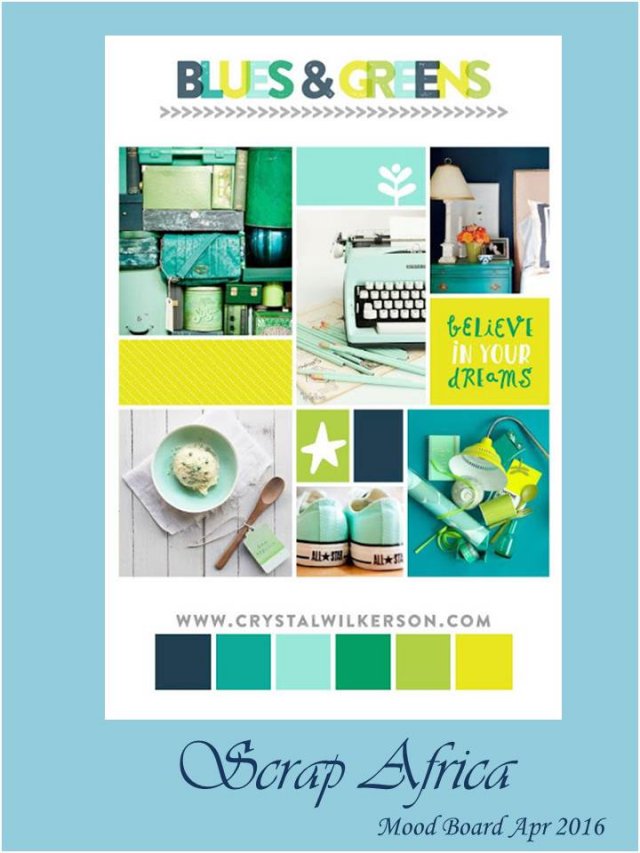 I am also joining the Bumaga-Maraka Project Life Challenge , with the theme of Circle Shaped Photos, Altair Art Challenge themed Artwork with a Tag, and last but not least, WOW! Embossing Powder Challenge, with an Anything goes theme.
 The end date in the above banner is wrong, in case you wonder, it's supposed to be until today, April 15.
 I began with taking some off-white cardstock to mat the circular photos and tried something new: I decorated the edges of these "frames" with embossing powders to imitate my inspiration of weathered wood.
I don't have a circle cutter so I was cutting the holes with scissors, when it turned out that it was not so easy to cut through the embossed part neatly. This gave me the idea to not cut along the line here at all but to carefully tear along the edge of the embossing instead.
 Et voilà, I could see the torn edges repeating the flow of the waves! I inked the torn edges and was very happy with that! I also inked a bit on the insides of the embossed frames, where the cardstock was more recipient to the ink, so the grains of white show better.
 I kept one of the embossed cards whole and having just gone through my embellisment stash, I felt like decorating it with a bubbly cluster of white buttons I had come across.
 I also decorated a few marine themed wood veneer embellishments with the embossing powders. One of them got a place in this tag...
 ...where embossing powders were also used to decorate the edges. Tags are a great way to include some hidden journaling inside the pockets!
 The dolphin found its way onto the ocean here, just for fun and out of my imagination − we did not really see any marine mammals here.
 First time using the cork alpha that I had been hoping to buy for quite some time! I like how they almost blend into the greyish brown shades of the sand.
 A few more embellishments: stars, washi tape and a Fabulous button to add up some colour.
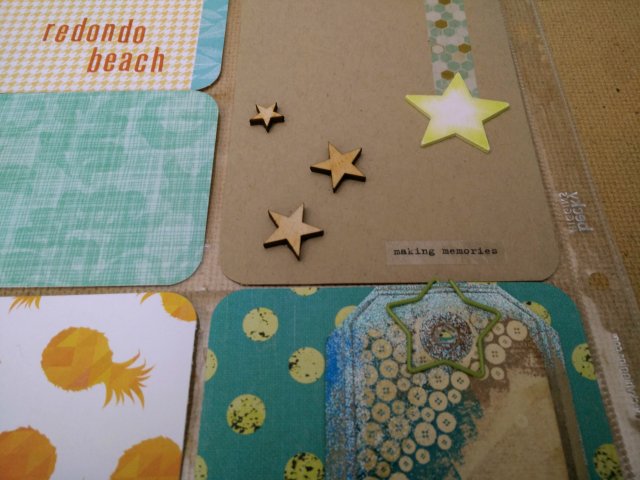 I wish you a very happy weekend, hopefully with a chance to enjoy some crafting and/or springtime inspiration outdoors! And those of you on the Southern Hemisphere, a cozy beginning of autumn, of course!
 Please pop in to see all the lovely DT work at Scrap Africa and join the challenge until the end of the month!
 Here's the lovely sketch by Scrap Africa owner Denise van Deventer.
 I am also joining the challenge at Scrapcraft.ru themed Wood and Decorative Tape.
 I used wood in the embellishments − firstly, the heart that was silver coloured in the beginning but I sanded it to let the woodgrain show a bit more and inked the sides to suit my colour palette.
 The bird I glued on the photo is also of wood veneer.
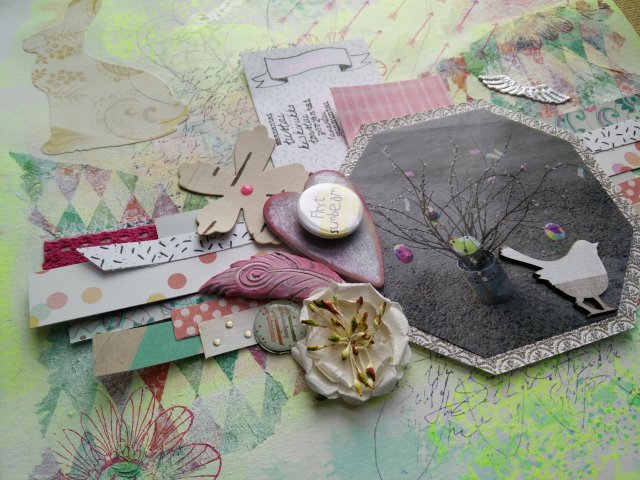 I'm not sure if it counts for the wood theme, but the challenge also inspired me to use birch bark! You can see it as a strip on the right side of the photo and in the die cut flower on the left side of the photo.


 Here below is the photo I used in the layout so you can see it from a bit closer!
In Finland, willow twigs with decorations are a typical Easter thing to do. Feathers and flowers made of colourful tissue papers are the traditional ways to decorate the twigs, but I was using washi tape and eggs covered with foam clay. Those were super easy and fun to do with kids, by the way. Even pretty young ones, like our 2-year-old, was fine doing it with just a little help!
 Thank you for looking in and Happy Springtime to each and everyone who's reading this!
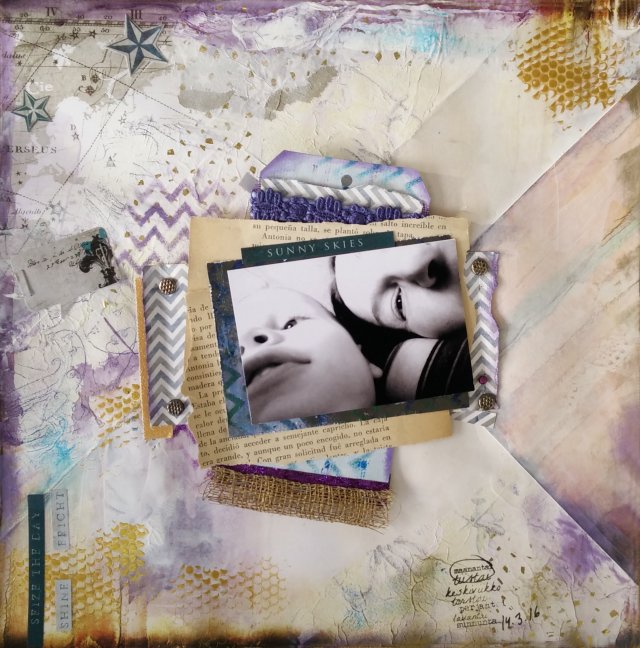 The title, Serenely Joyful, is a dictionary definition of Blissful (1. serenely joyful or glad).
Bliss, the noun, would be (1. Extreme happiness; ecstasy. and 2. The ecstasy of salvation; spiritual joy.) but I loved the sound of Serenely Joyful and wanted to include the word Serene, so that's why the adjective.
 The photo I scrapped is from nap time with our 2-year-old. Those are serene moments of days that are otherwise quite busy. Well, serene in most cases − absolutely not always if the little one is too excited to sleep!
I find it such a luxury to be able to sleep during the day, and cuddling with my baby, even more so. So that's why Bliss.
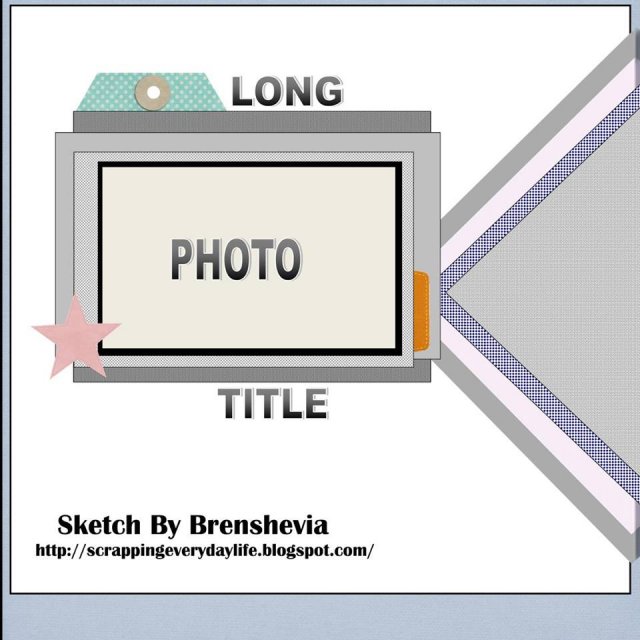
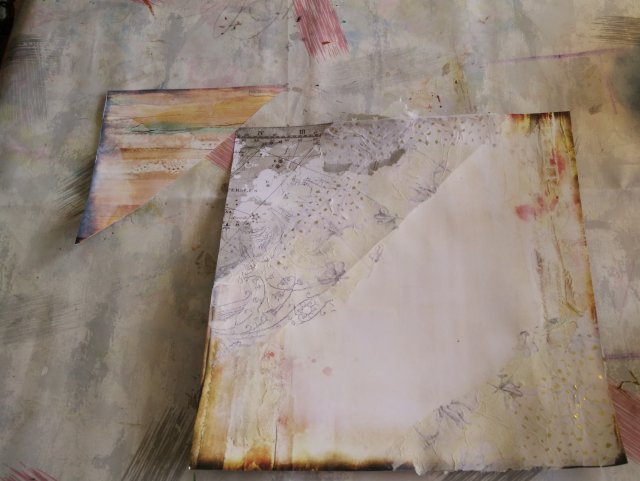 For my background, I wanted to use a bit of both sides of a 7 Dots Studio paper, but had only one of it. That together with the sketch I used suggested cutting a corner and replacing it with another paper. (Already done when I remembered to take a photo!)
They are from the Dreamer and Destination Unknown collections from 7 Dots Studio.
In the planning stage, I check that this is where the corner will be...
 According to this sketch I used, from Let's Get Sketchy, March Week 4.
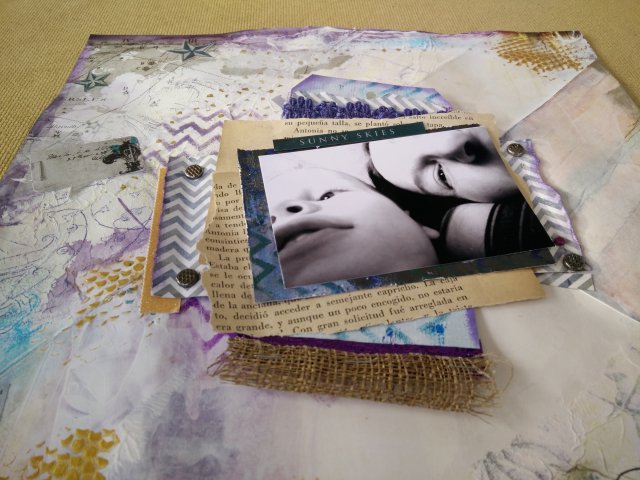
 And here's a detail of what I like to do with gesso! I use it to glue layers of tissue papers or napkins, which gives a cool texture and a bit of a pattern at the same time. Lunch sized napkins usually have a middle layer that has a nice lighter version of the pattern, if it is otherwise a strong one.
This is actually a technique I invented myself (not to say I'm the only one!) just by experimenting, when I was quite a beginner with mixed media. It resembles decoupage, but the napkin is meant to be wrinkly here and the image not necessarily very clear. I learned this when I only had white gesso thinned with water, and the white gives a nice background for adding further paint.
 I used the gesso and napkins to fade the line between the two different papers.
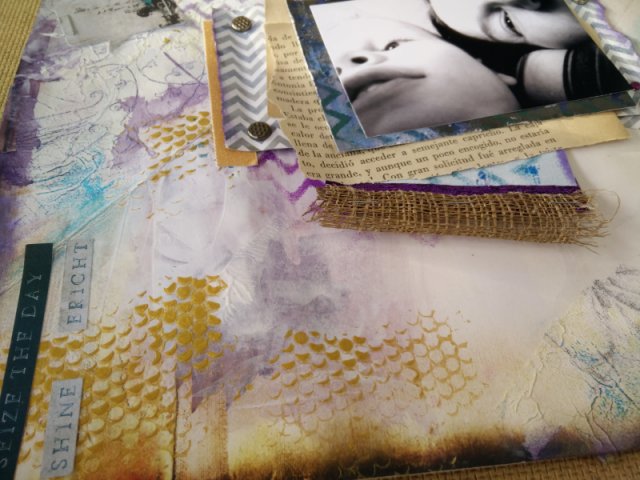
 Here are some close-ups of that area in the finished layout.

 And the same thing in the opposite corner. I particularly love the tissue paper with the tiny flakes of gold!
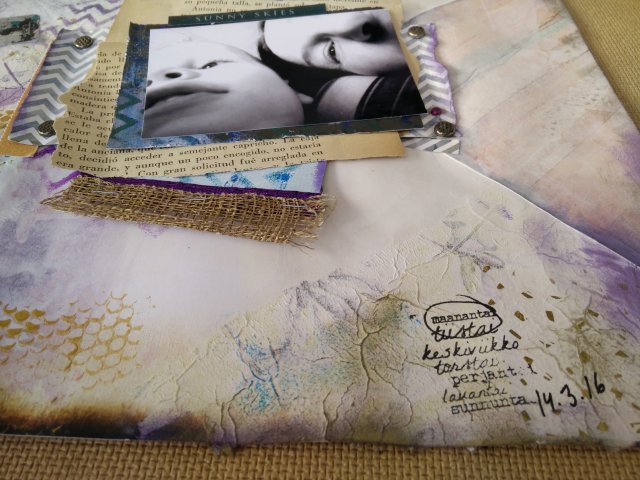 I added some golden modeling paste, using punchinella as a stencil.
 I am also joining the Chevron Challenge at Challenge YOUrself!

 And the 7 Dots Studio Challenge themed Parts of Your Face.
 And We Love to Create Challenge 7: Anything Goes Mixed Media.
The children don't love the time I'm scrapping but they do love to see photos of themselves and their dear ones!
Those of you who have small children (or have had when you started scrapping), I'd love to hear your secrets of how and when you find time for your crafting! Do you do things together with your kids, at night when they sleep, or when the other parent takes care of them, or something else?
 Thank you for your visit and comments, I appreciate them greatly!